Preferences contain settings related to language, interface, tools, processing quality etc.
To call Preferences dialog:
Option1. Press Ctrl+K (Win) /Cmd + K (Mac)
Option 2. Go Tools -> Preferences
Option 3. Click Preferences button on the toolbar

Preferences contain settings related to language, interface, tools, processing quality etc.
To call Preferences dialog:
Option1. Press Ctrl+K (Win) /Cmd + K (Mac)
Option 2. Go Tools -> Preferences
Option 3. Click Preferences button on the toolbar
Access Undo/Redo commands from the toolbar
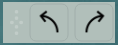
Shorcuts:
Undo – Ctrl + Z (Win) /Cmd +Z (Mac)
Redo – Ctrl + Y (Win) /Cmd +Y (Mac)
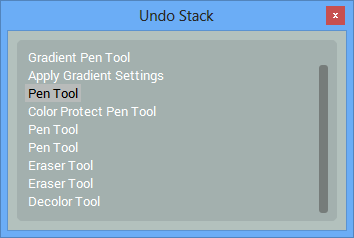
Undo Stack lets you navigate past actions with ease. You can go back and forth, skipping multiple steps.
You can both navigate and zoom image using one of the options.
Arm (A) and Zoom tool (Z) is located on the Toolbar right above Pen tools.
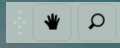
To Zoom In hover the pointer over the image in Editor or Result and move to the left holding the mouse button down or press (CTRL++/Command++)
To zoom out press the mouse-button and move the pointer to the right or press (CTRL+-/Command+-)
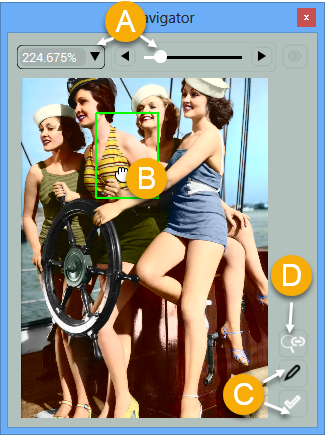
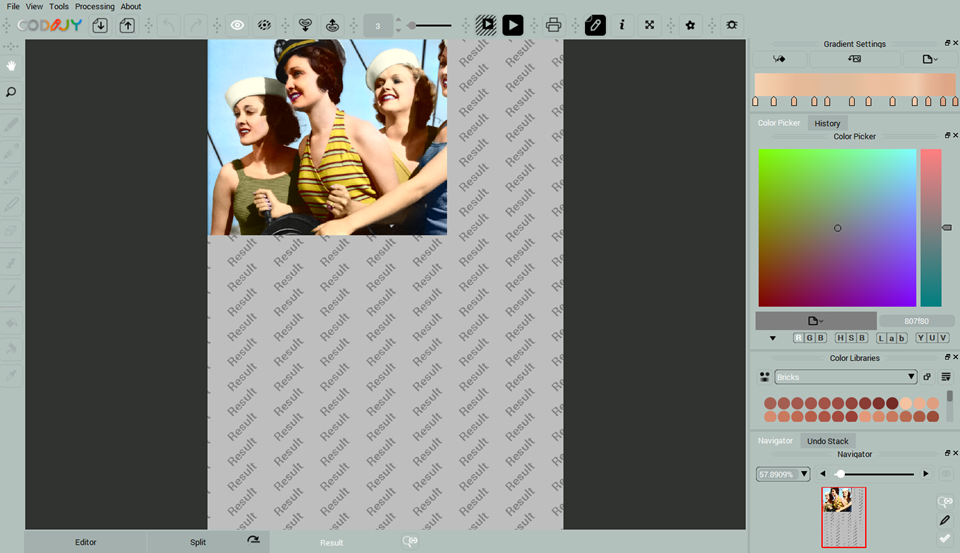
Navigator enables you to (a) zoom, (b) navigate the image, (c) switch between Editor and Result, (d) enable/disable Scale Synchronization between views.
NOTE: Instant Preview Mode is available in Pro Edition.
CODIJY Pro enables you to preview colorization result in real time. To enable Instant Preview Mode
Step 1. Call Partial Processing Dialog
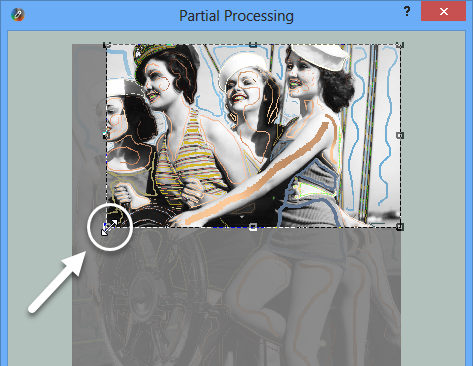
Step 2. Select area to process with the help of the handles of the selection box. Smaller area will ensure faster output.
Step 3.
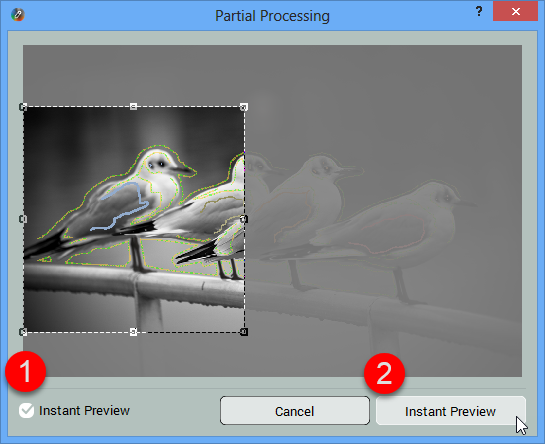
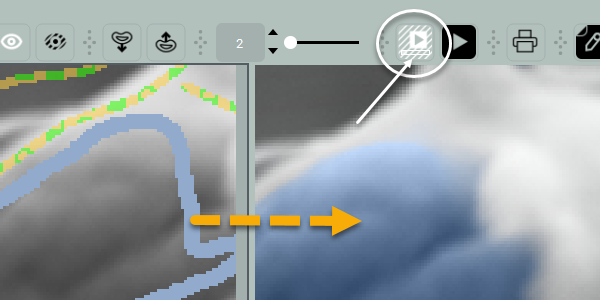
When the Instant Preview mode is on, CODIJY CODIJY switches to Split View and generates Preview in the real time. The tiny progress bar will show up over the Partial Processing icon, while the processing is in progress.
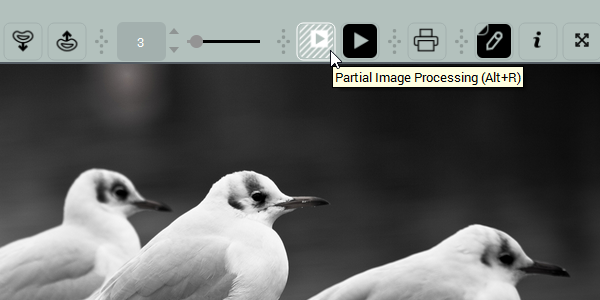
In case you work on the large-size image and want to speed up its processing, CODIJY lets you generate preview of the part that you are working upon. You can select the required part in the Partial Processing dialog. To open it:
Option 1. Press Alt + R
Option 2. Go to Processing -> Partial Image Processing
Option 3. Click the Partial Image Processing button.![]()
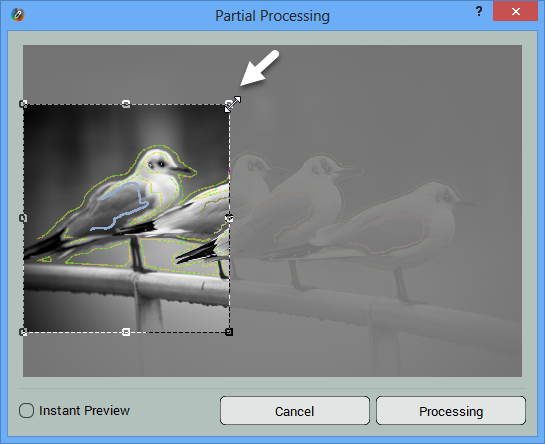
Step 1. In the Partial Processing dialog, select the area you wat the program to process, using the handles on the sides or the Selection box.
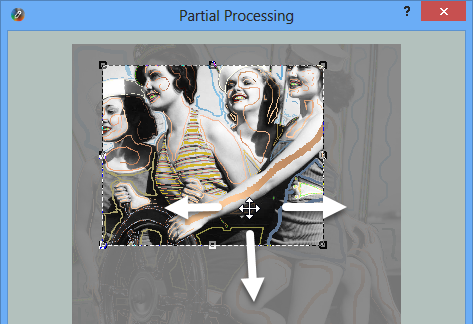
Step 2. Move the selection box to a different area by just clicking on it and dragging to the desired location.
Step 3. Now, click Processing.
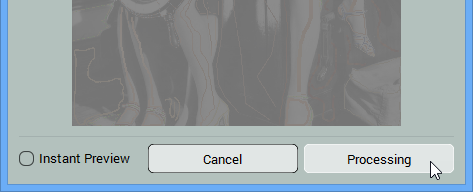
CODIJY will generate colorized Preview of the selected area.
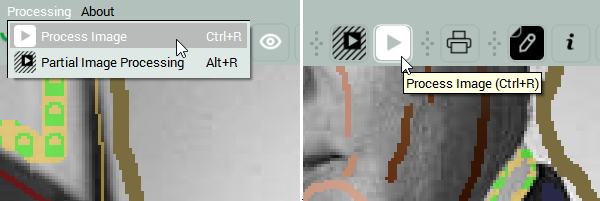
When you are done with your work or its part, and wish to preview preview colorization result, launch Image Processing.
Option 1. Press Ctrl + P (Win) / Cmd + P (Mac)
Option 2. Go to Processing -> Process Image
Option 3. Click the Process Image button.
Wait a few moment, until CODIJY generates preview. The processing speed will depend on the size of the image.
TIP: You can adjust processing quality under Settings in Preferences
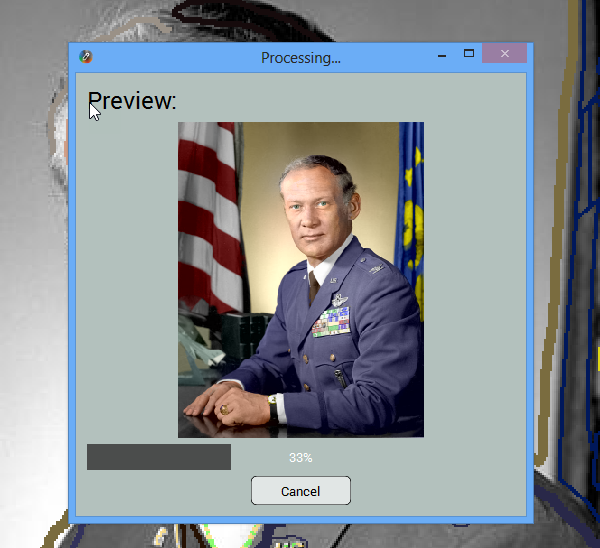
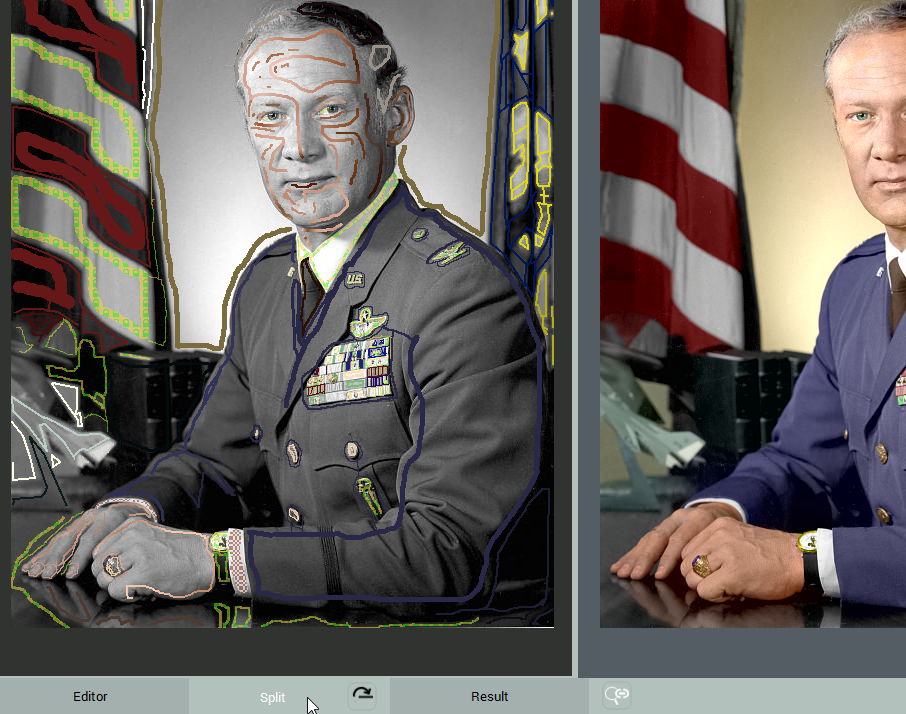
After preview is generated, CODIJY will switch to the Result view.
TIP: To view Editor side-by- side with Result, switch to Split view.
In order to see the colorization result, you should process the photo. During processing, the program will apply the colors added in color strokes to the objects underneath. Until then, the Result view will remain empty.
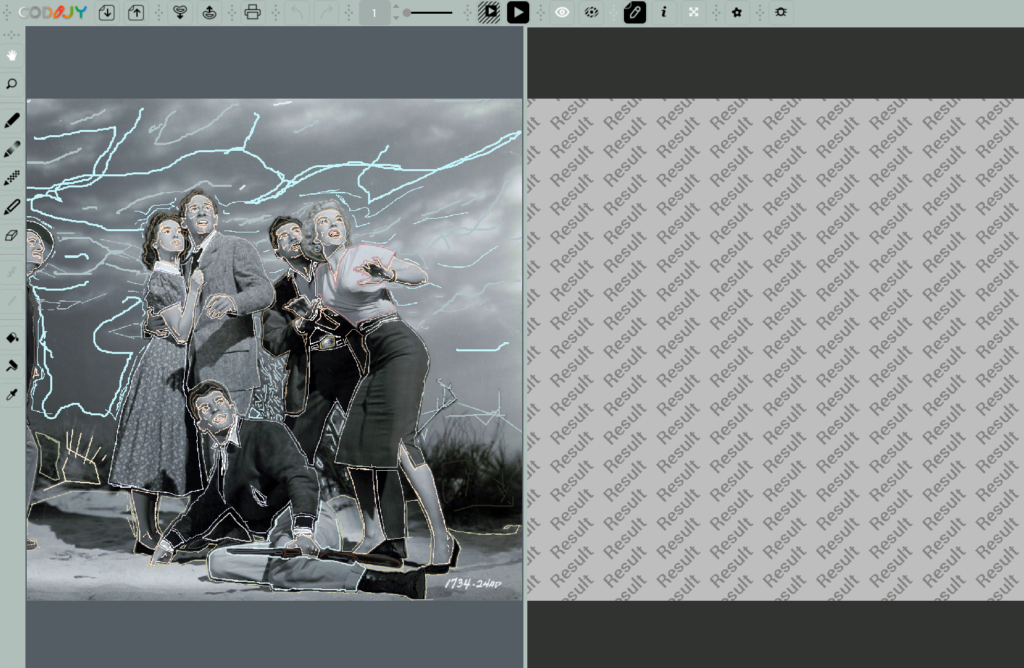
If you launch image processing without adding color masks, the software will convert the image to grayscale.

There are three processing modes:
•Full Image Processing
•Partial Image Processing
•Instant Preview mode
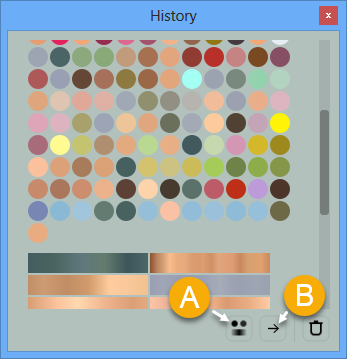
CODIJY records all used colors and gradients, to the document History.
History window displays colors & gradients in the order you added them and lets:
(A) switch between browsing colors/gradients/ both.
(B) (Pro Edition Only) export History to a new library.
TIP: You can also remove colors from from History by calling a Context Menu over the color.
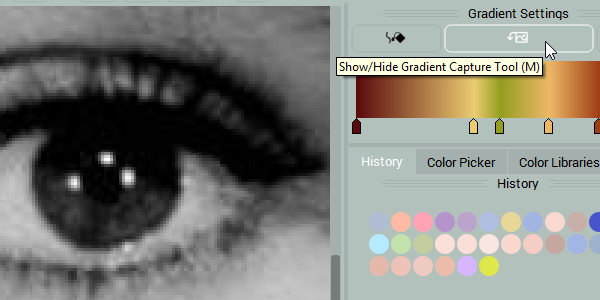
In some cases, it’s almost impossible to manually compose the right combination of natural colors for coloring faces with just intuition and color palette.
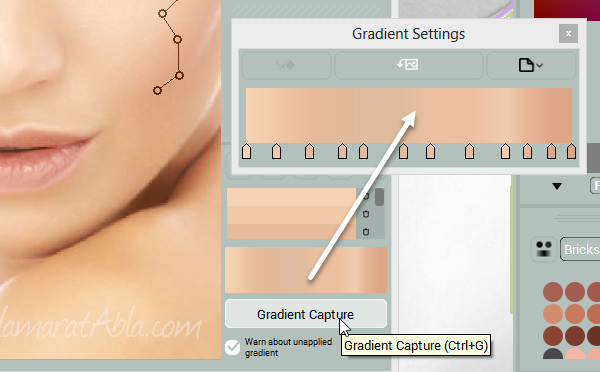
To help you cope with this complex task, we have designed an advanced Gradient Capture tool. It enables picking live gradients from the color photos, saving you lots of the time.
NOTE: This tool is available in Pro Edition.
Step 1. Click the Show/Hide Gradient Capture Dialog button in Gradients Settings.
Step 2. Click Open Image and select the color image.
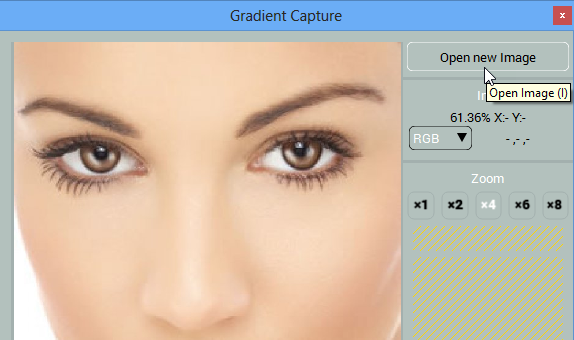
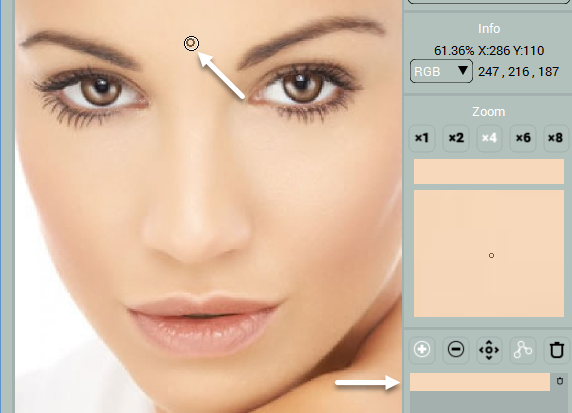
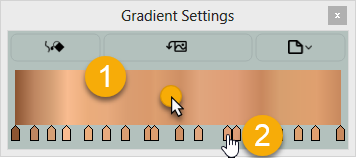
Step 3. Click the to set the pin onto the pixel with the color that should be added to gradient.
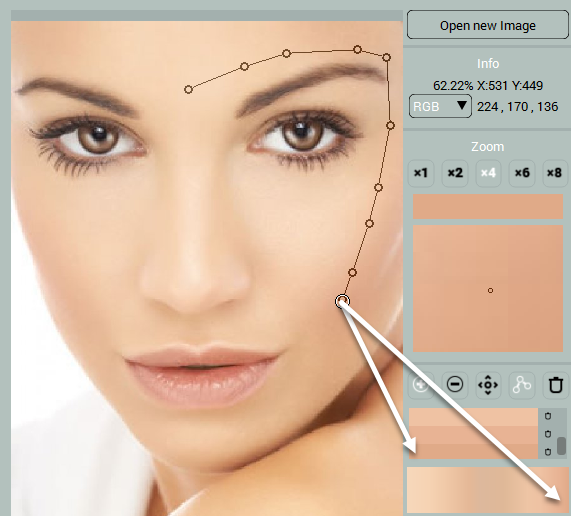
Step 4. Complete a gradient with a few more pins. Independent colors and gradient can be previewed on the right.
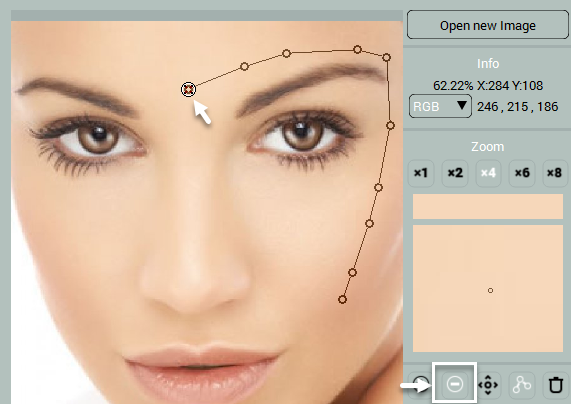
Delete Pins If you wish to delete color, switch to Delete Pin (2) and click the pin.
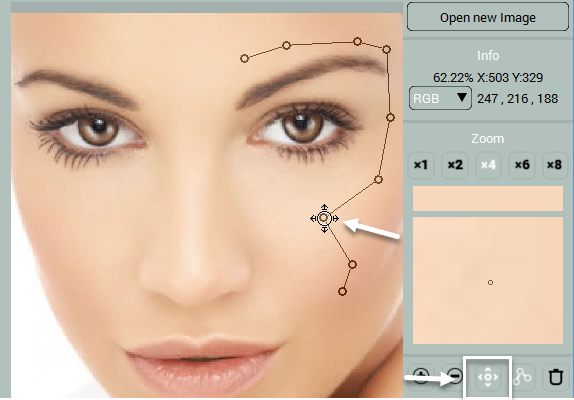
Edit Gradient If you want to visually edit the gradient, switch to Move PIns tool (3) and reposition one of the pins over to pin the new color.
When you are done, click the Gradient Capture button or press (Ctrl+G / Cmd + G).
New gradient will show up in Gradient Settings.
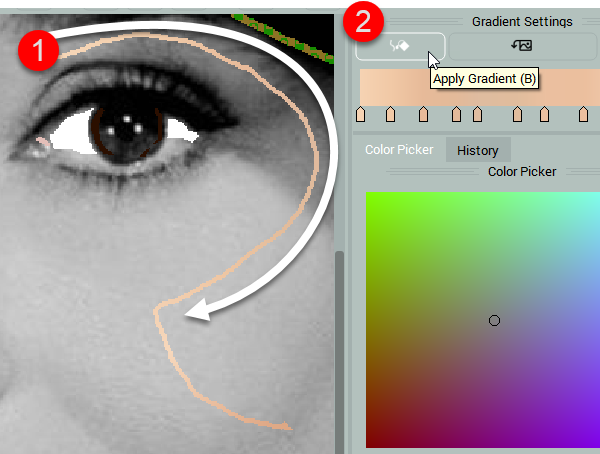
After you captured a gradient, draw gradient mask following the route, in which you have set pins, while capturing the gradient. Click Apply Gradient (B) in Gradient Settings.
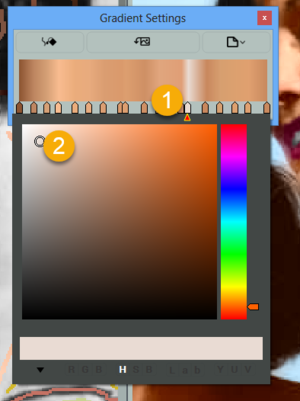
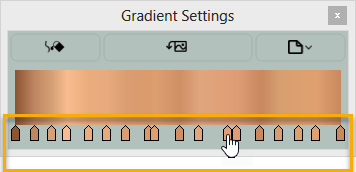
Gradient Settings lets edit gradient masks by moving, adding or deleting markers and editing their colors. Gradient Settings work with Gradient Pen tool.
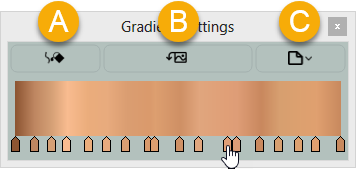
Gradient Settings dialog gives access to:
A) The Apply Gradients command (use it, after you draw or edit a gradient mask)
(B) (Pro Edition Only) show/hide Gradient Capture Dialog,
(C) (Pro Edition Only) add the gradient to a library.
(A) You can add new color marker by clicking anywhere over the color space.
(B) To delete marker, just Right Click (Win) / Cmd+Click (Mac) it.
(A) Click the marker to call the Color Picker dialog
(B) Pick a new color for the gradient