CODIJY allows you to add, remove and protect photo colors, by drawing simple Masks over photo areas using several Pens.
Add Color masks
NOTE: This is a concise description of colorization process. Please check out our CODIJY Lessons for step by step colorization tutorial.
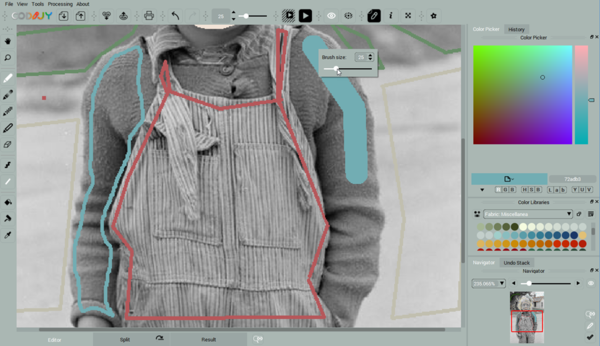
Most of colorization is done with solid colors. Use Pen Tool to draw color strokes (masks) over different photo areas. Pick colors from Color Libraries or using Color Picker.
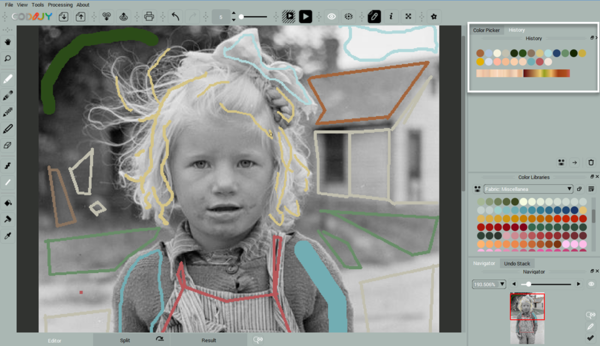
CODIJY automatically detects borders between objects, once you provide colors for all neighbouring areas.
TIP: The example file of this coloriztaion with related Color History and masks is packed with CODIJY and can be accessed from the Project Explorer.
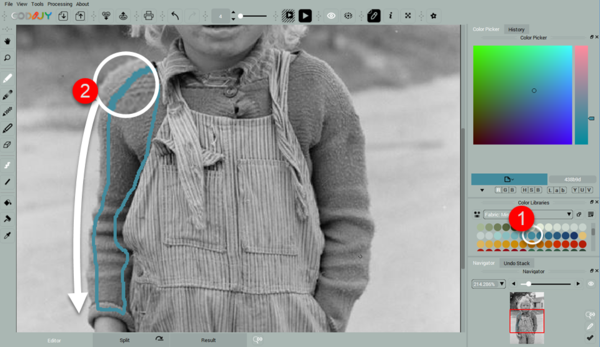
Enable Pen Tool (P). Start with ready colors. Select a Color Library from the drop down list.
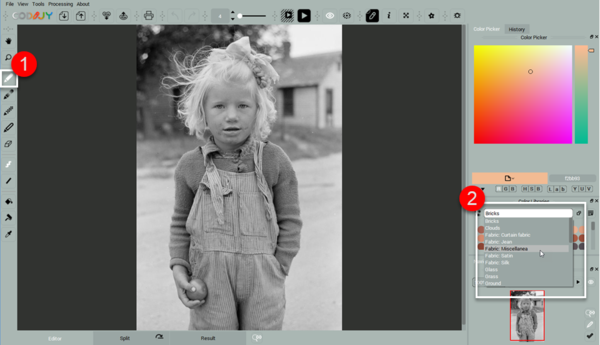
Pick a color and draw the mask within the area, close to the border. By default, you will be drawing in Freehand Mode (F).
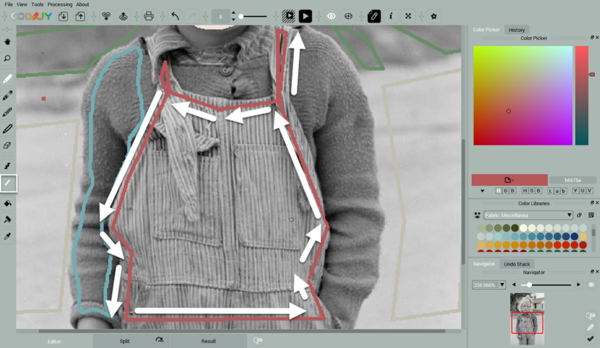
If the area has a regular shape, switch to the Line Drawing (L). Line masks are quicker to draw.
NOTE: Use several shortcuts to draw masks in the Line mode quicker.
- Spacebar will cut off lines in Line mode,
- Escape button will delete the previous line, when you hold the mouse button down.
- Long-press Spacebar to switch to the Freehand mode, without releasing the mouse button.
To change brush size, use Brush Size tool on the toolbar or call the Context Menu over the Mask.
You can access previously used colors from the History. NOTE: you can enable History, if it was disabled in your layout.
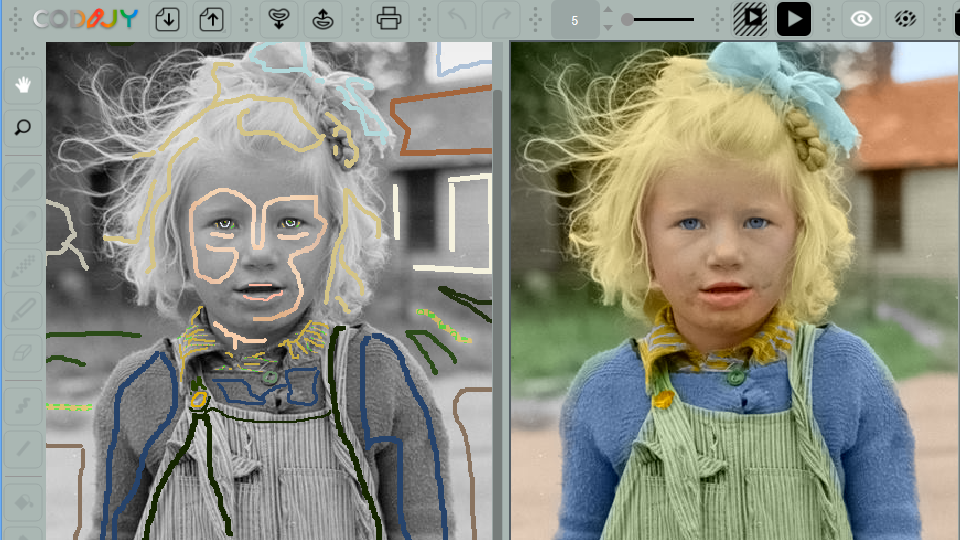
Generate result preview
Process the image (press Ctrl + R (Win) / Cmd + R (Mac)) or click ![]() , when you are done or want to preview the colorized result.
, when you are done or want to preview the colorized result.
Quickly edit the mask color
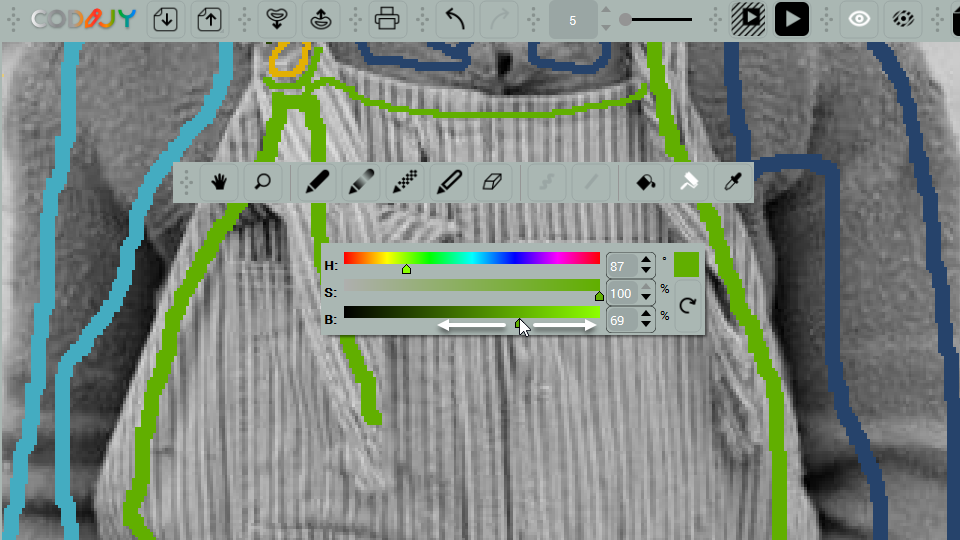
If you want to change the mask color on the spot, adjust it Hue / Saturation / Brightness using the HSB Repaint tool .
Step1. Enable HSB Repaint Tool by pressing (H) or clicking ![]() on the toolbar.
on the toolbar.
Step 2. Click the mask. The HSB dialog will pop up.
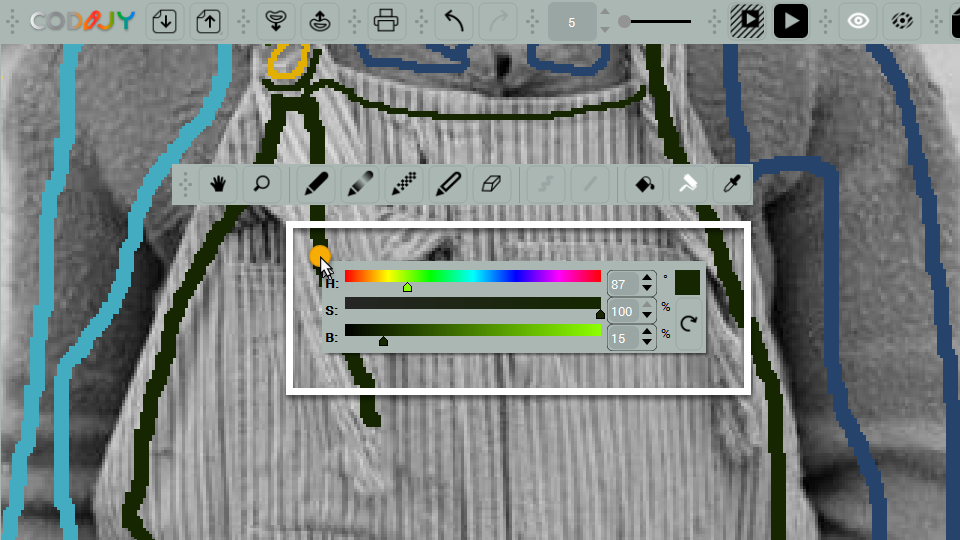
Step 3. Adjust Hue/Saturation/Brightness parameters using handles or the digital values. The Mask color will change in the real time. Process the image (Ctrl+R / Command+R) to preview the Result.
Alternatively, use the Color Picker tool and Repaint Busket.
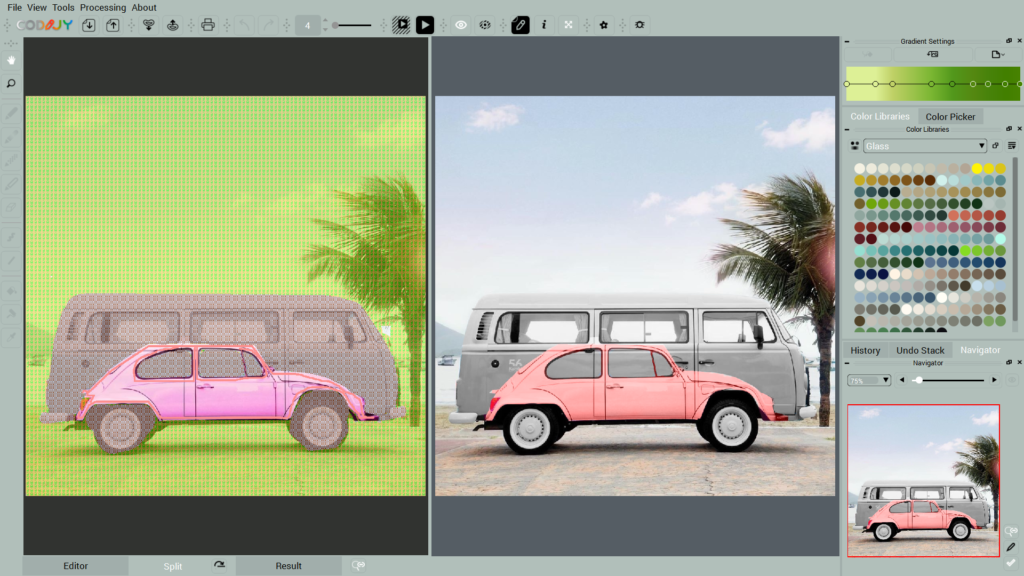
How to draw Gradient masks
Gradient masks let you add multiple colors and their transitions with a single stroke.
To draw a gradient mask:
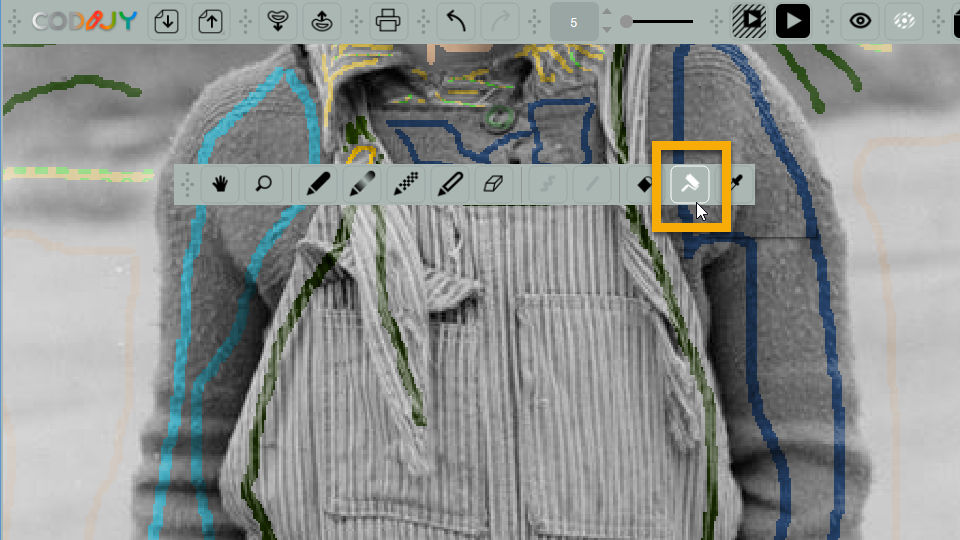
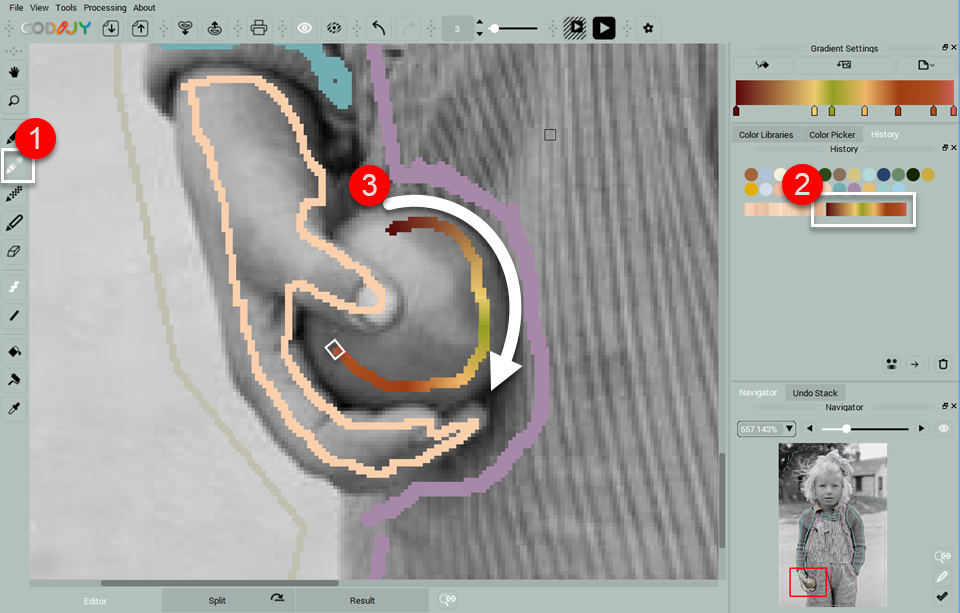
Step 1. Select Gradient Pen tool on toolbar.
Step 2. Use ready gradient from the Color Libraries or capture on from a color photo.
NOTE: We are using the gradient saved to the Color History of the example file packed with CODIJY. You can find it among examples in your Project Explorer.
Step 3. Draw the gradient mask trying to match colors of the gradients to the areas that you mean them to applied to.
Step 4. Click Apply Gradient in Gradient Settings or simply press (B) after the mask is completed. NOTE: If you don’t apply the current gradient, the newly selected gradient will apply to the last drawn mask.
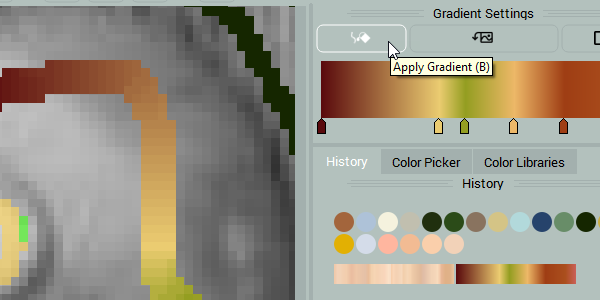
Process the image ( Ctrl + R (Win) / Cmd + R (Mac)) to generate colorized Preview.